Quickstart
Growing Your First Snowflake
Growing your first snowflake requires just 3 steps:
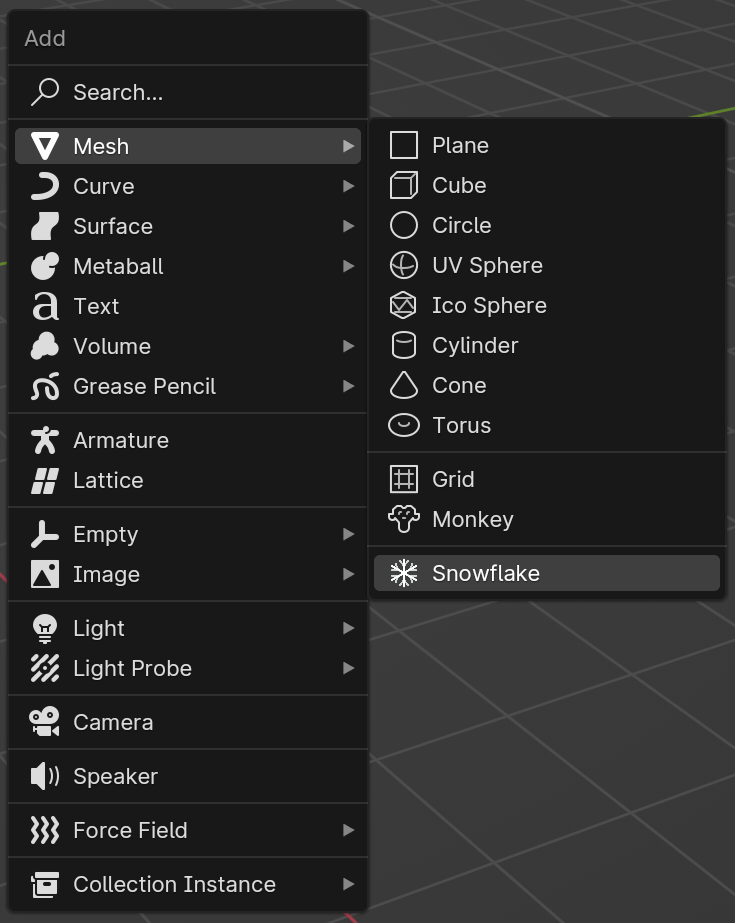
Go to a 3D view and open the sidebar (us
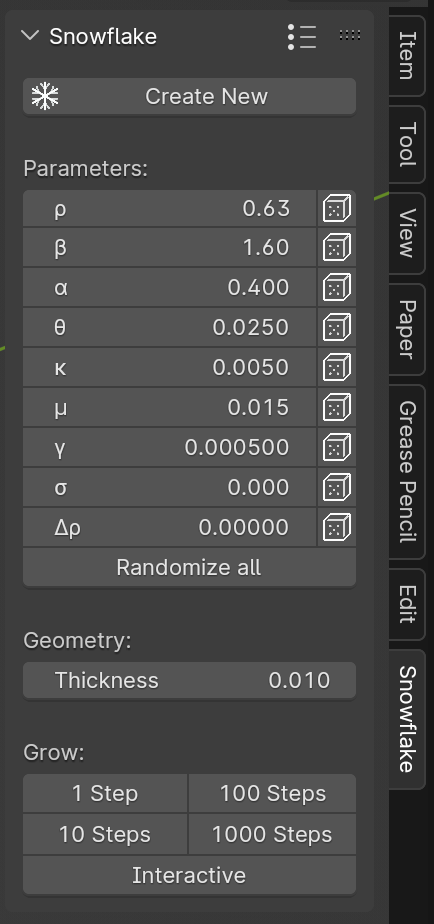
View > Sidebar), choose the submenuSnowflake.Press on the button
Create Newin the sidebar menu – see Fig. 1 a). This creates a tiny snowflake that yet has to grow.Press on the button
1000 Stepsat the bottom of the sidebar menu (see Fig. 1 again).
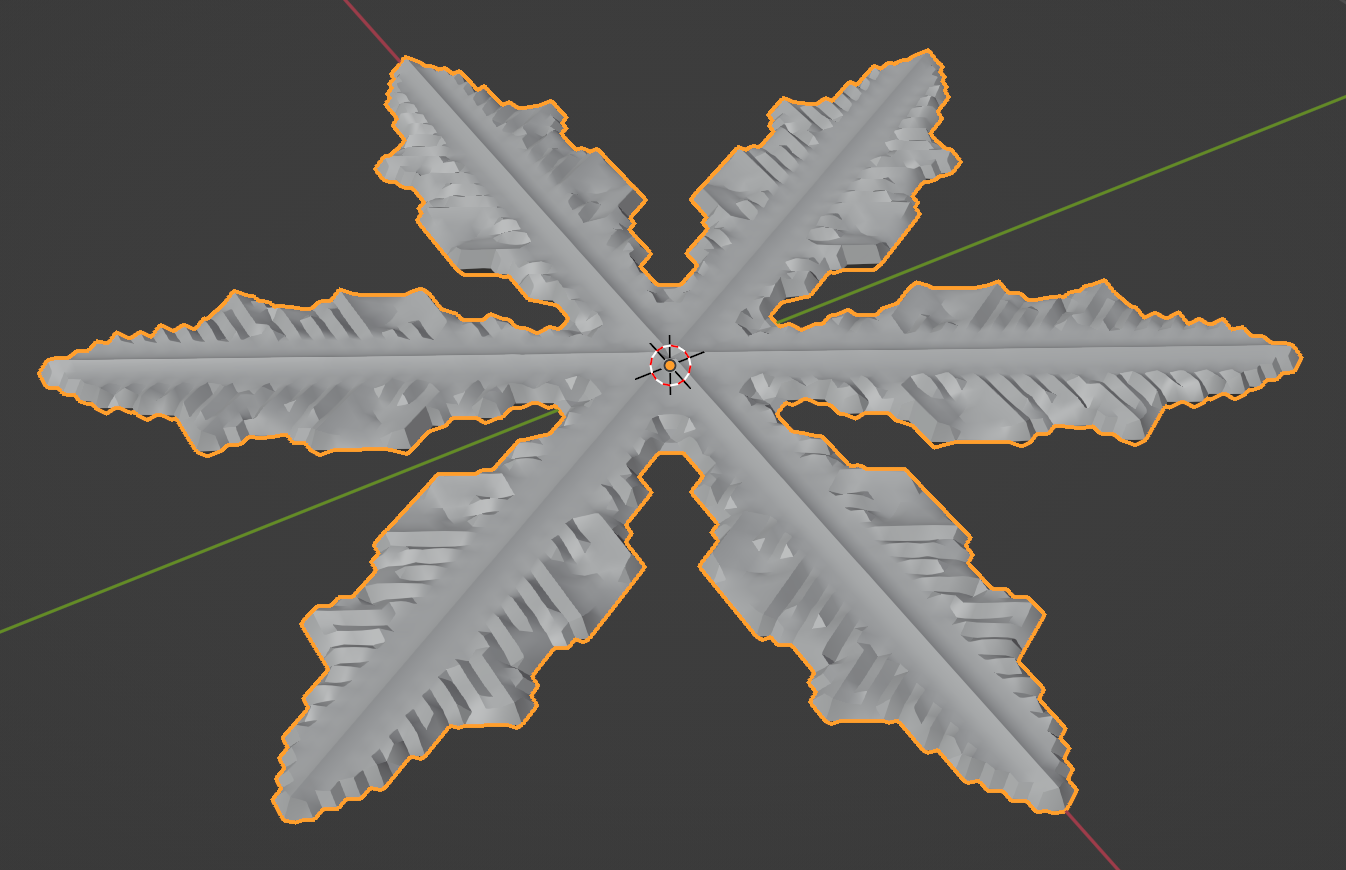
That’s it, you’ve grown your first virtual snowflake! It should look like the one shown in Fig. 1.
 a) Sidebar menu
 b) Your first snowflake
Fig. 1 Snowflake creation using the sidebar menu.
Further Growth
You can always let any snowflake grow bigger. Just select a snowflake and press again on one of the growth control buttons in the sidebar. These allow to grow your snowflake with one click by 1, 10, 100, or 1000 steps.
Caution
Of course you can also grow by more than 1000 steps in one go, for example by setting the number of steps using Blender’s ‘Adjust Last Operator’ functionality (see the official documentation for more information). But always keep in mind that the full user interface will be blocked during growth, so don’t use too many steps at a time or Blender will just freeze forever!
It’s also possible to watch the snowflake grow interactively.
For this, just select a snowflake and press on the button Interactive in the sidebar.
In interactive growth mode, the UI does not freeze, and you can stop growth at any time by pressing your right mouse button or ESC on the keyboard.
Note
Interactive growth mode allows you to see your snowflake growing, but it’s usually slower to grow as mesh data has to be generated for each view update. Thus, to get results faster, use the other buttons for non-interactive growth.
It’s also normal that growing becomes slower over time. That is, the first 1000 steps will compute faster than the next 1000. This is a natural consequences of the growing snowflake, making the required simulation domain larger and thus the computation slower.
Changing Parameters
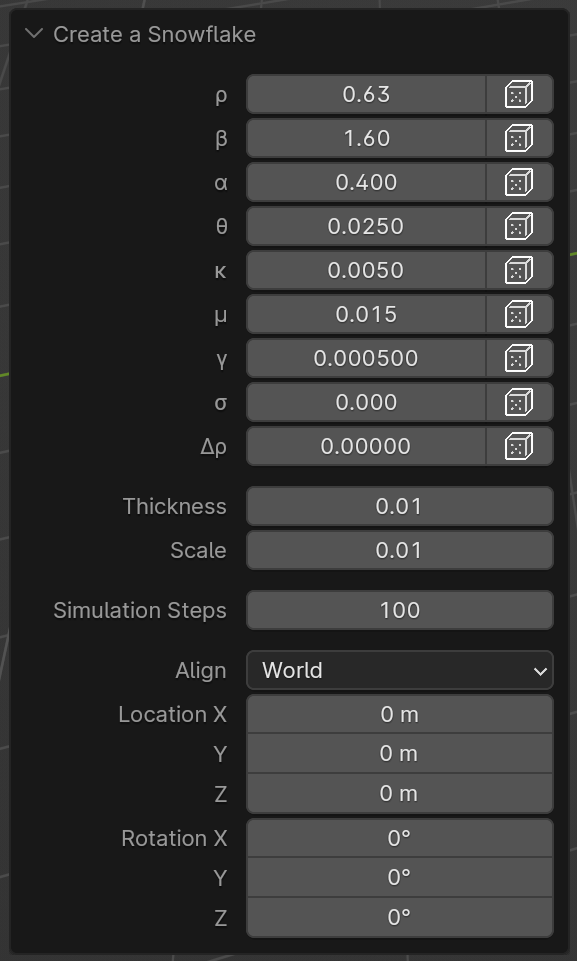
The shape of the growing snowflake is defined by the 9 parameters with rather abstract Greek letters as names.
Because the snowflake growth process is based on a rather complex physical model, their meaning is not particularly intuitive.
To get started, it might be easiest to randomize one or multiple parameters (by clicking on the small dice on the right).
With a click on Randomize all, you can also get very different results easily.
Some combinations of values can lead to beautiful results, others to tiny lumps or plates.
Note
You can adjust the parameters of any snowflake at any time. However, the adjustments will only have a visible effect when you further grow the snowflake; the previously grown part will not change!
There are also many presets available which might work well as a starting point for further experimentation. You can select a preset in the header of the sidebar menu. Renderings of all presets can be found in the Presets section of the guide.
For an in-depth documentation of the parameters and some background of the simulation method, see their documentation.
Where to Continue?
Just generate some more random snowflakes, check out the Presets Gallery for inspiration, or study the guide on Parameters.
If you want to create an animation showing the growth process of a flake, see the guide on Animation.
If you like to automatically generate some more flakes using Python, you should also check out the Python API.

